Thursday 15 December 2011

And may I present the meat pile; formerly Chipotle Meatloaf.

Well hello my little darlings! I know it's once again been a while since I've posted, but I have a very good reason. You see, while I've been gone, some interesting developments have happened in mine and JP's lives. You have to understand that this was not expected, I swear! Neither of us were really prepared for it in any way. But, to make a long story short... well, shorter really, here it goes. We've been transferred. Again. So as sad as it is, it's time for us to say goodbye to our beloved Sydney, and hello to Jacksonville, Florida. Random, I know. So, seeing as we will be in full-on move mode over the holiday season, I wanted to give a parting gift until my next posting, which will probably be sometime in the new year!

And here it is! This is my Chipotle Meatpile. Really it was supposed to be a Meatloaf, but I didn't add enough breadcrumbs to soak up the juices, and the resulting dish was far more pile than it was loaf. Don't worry, it still tasted delicious! So without further ado, lets get started!


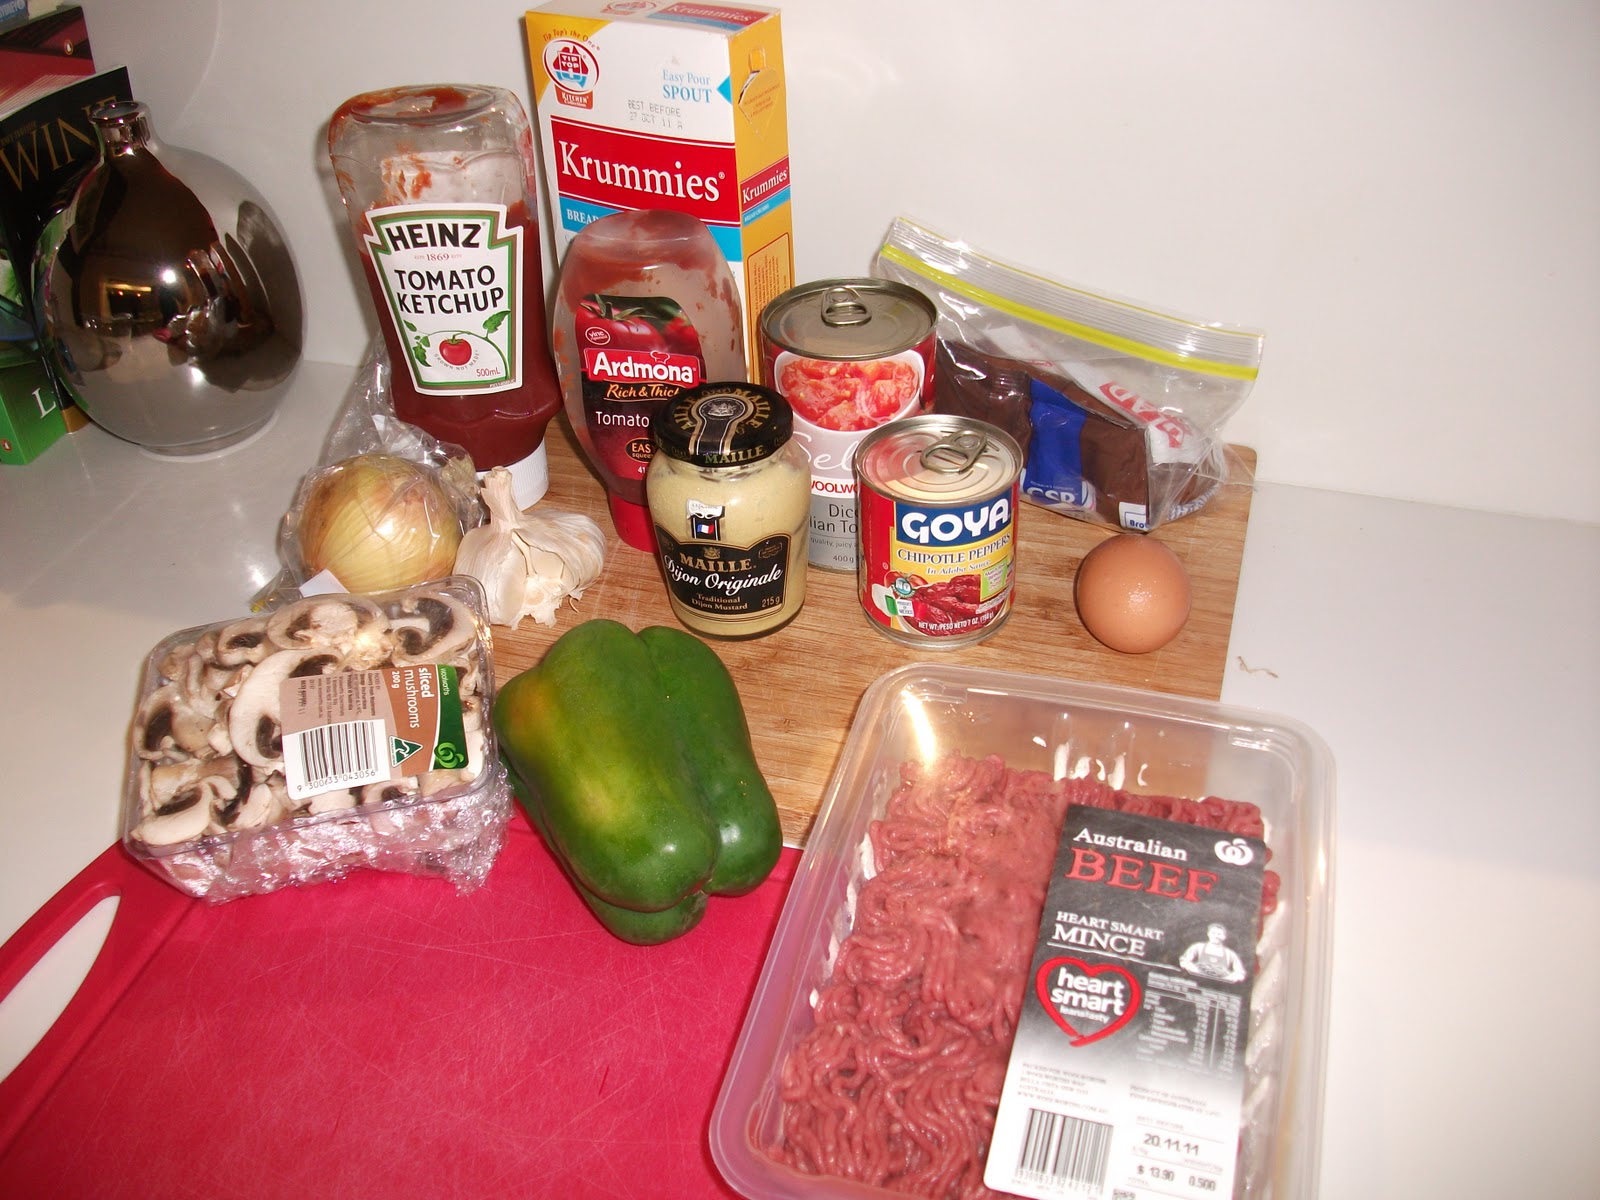
Naturally, the first thing you'll need are the ingredients. This is a pretty easy thing to make, and the ingredient list is just as simple. You'll need an onion, a green bell pepper, 2 cloves of garlic, one egg, 500g (about a pound) of ground beef, 200g (a little less than half a pound) of mushrooms, one can of diced tomatoes, some dijon mustard, ketchup, tomato paste, breadcrumbs, brown sugar, Mexican cheese mix, and most importantly of all, a can of chipotle peppers in adobo. This is the must have ingredient to make this after all!


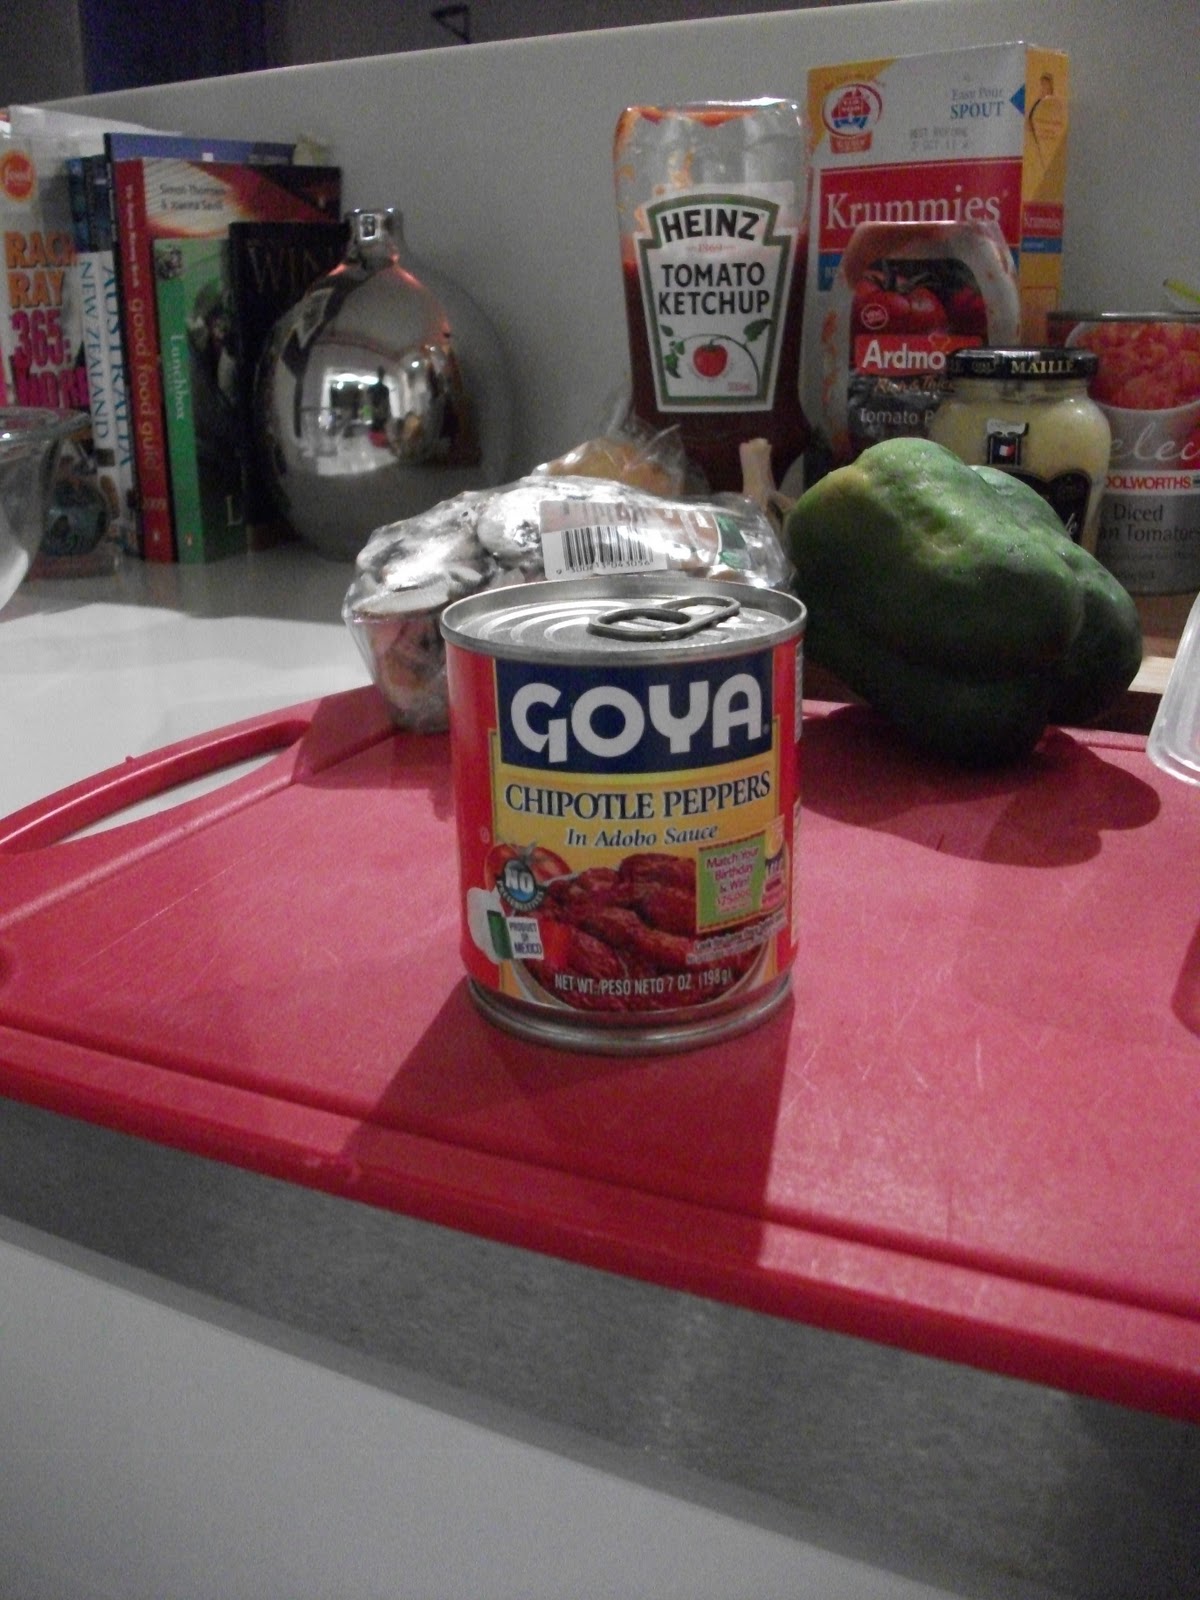
Mmm Chipotle Peppers in Adobo. Smokey and spicy and delicious. Trust me on this.


So lets start with the meatpile. Start with dicing up the onion, and throwing it into a pan to sauté for a bit.


Chop up the mushrooms and toss those in as well.


Then add the diced green bell pepper. Let this mixture cook for a bit, until the onions start to turn translucent.


Dice up the cloves of garlic, and throw those into the pan. Allow to cook for about 5-7 more minutes, then switch off the heat and allow them to start to cool.


While that is happening, grab the beef and toss it into a large mixing bowl.


Take the peppers (I used all of them, but you can use less if you don't want as much heat) and chop them up nice and fine. Make sure to keep the Adobo sauce. That stuff is like liquid gold in this recipe.


Throw the chopped chipotle peppers into the meat, and add the can of diced tomatoes. Add about half of the reserved Adobo sauce that you saved.


Now, this is where you can go either way: Add the 1/2 cup of bread crumbs that I did, and enjoy a nice moist meatpile. Add 3/4 cup of the breadcrumbs, and have a nice, moist, meatloaf. Your choice!


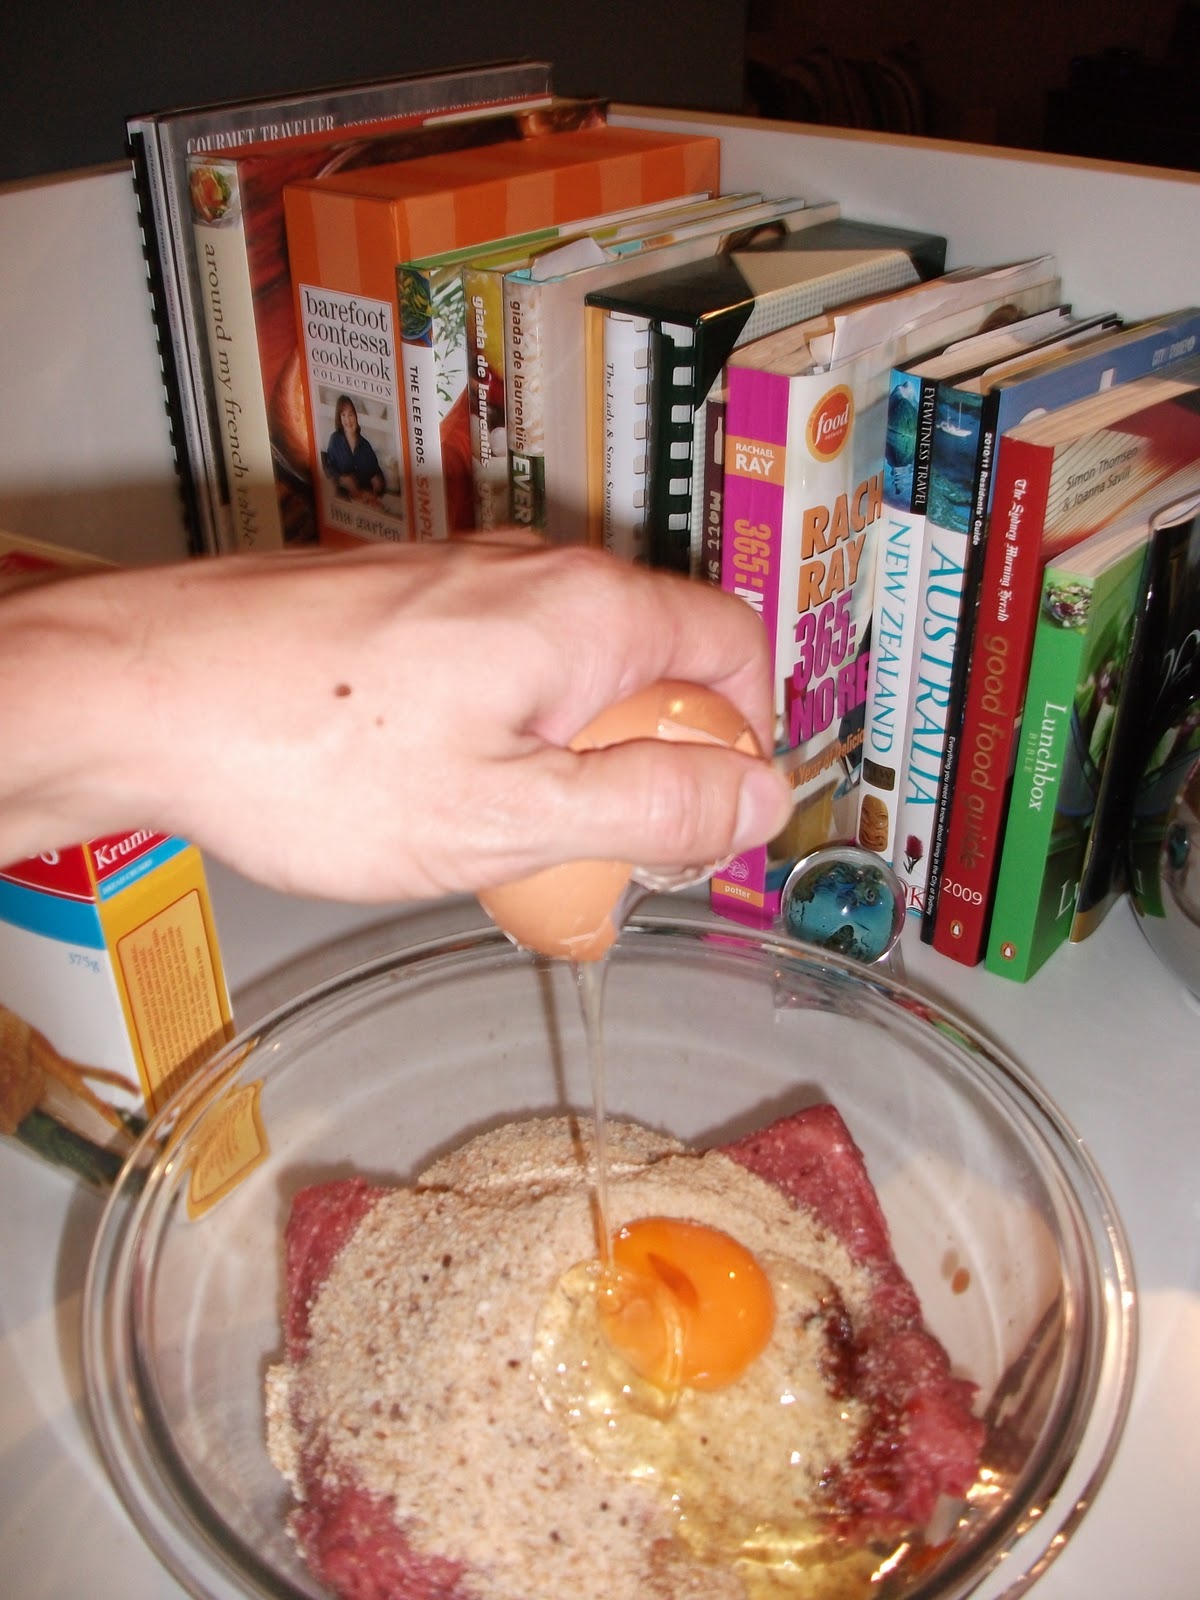
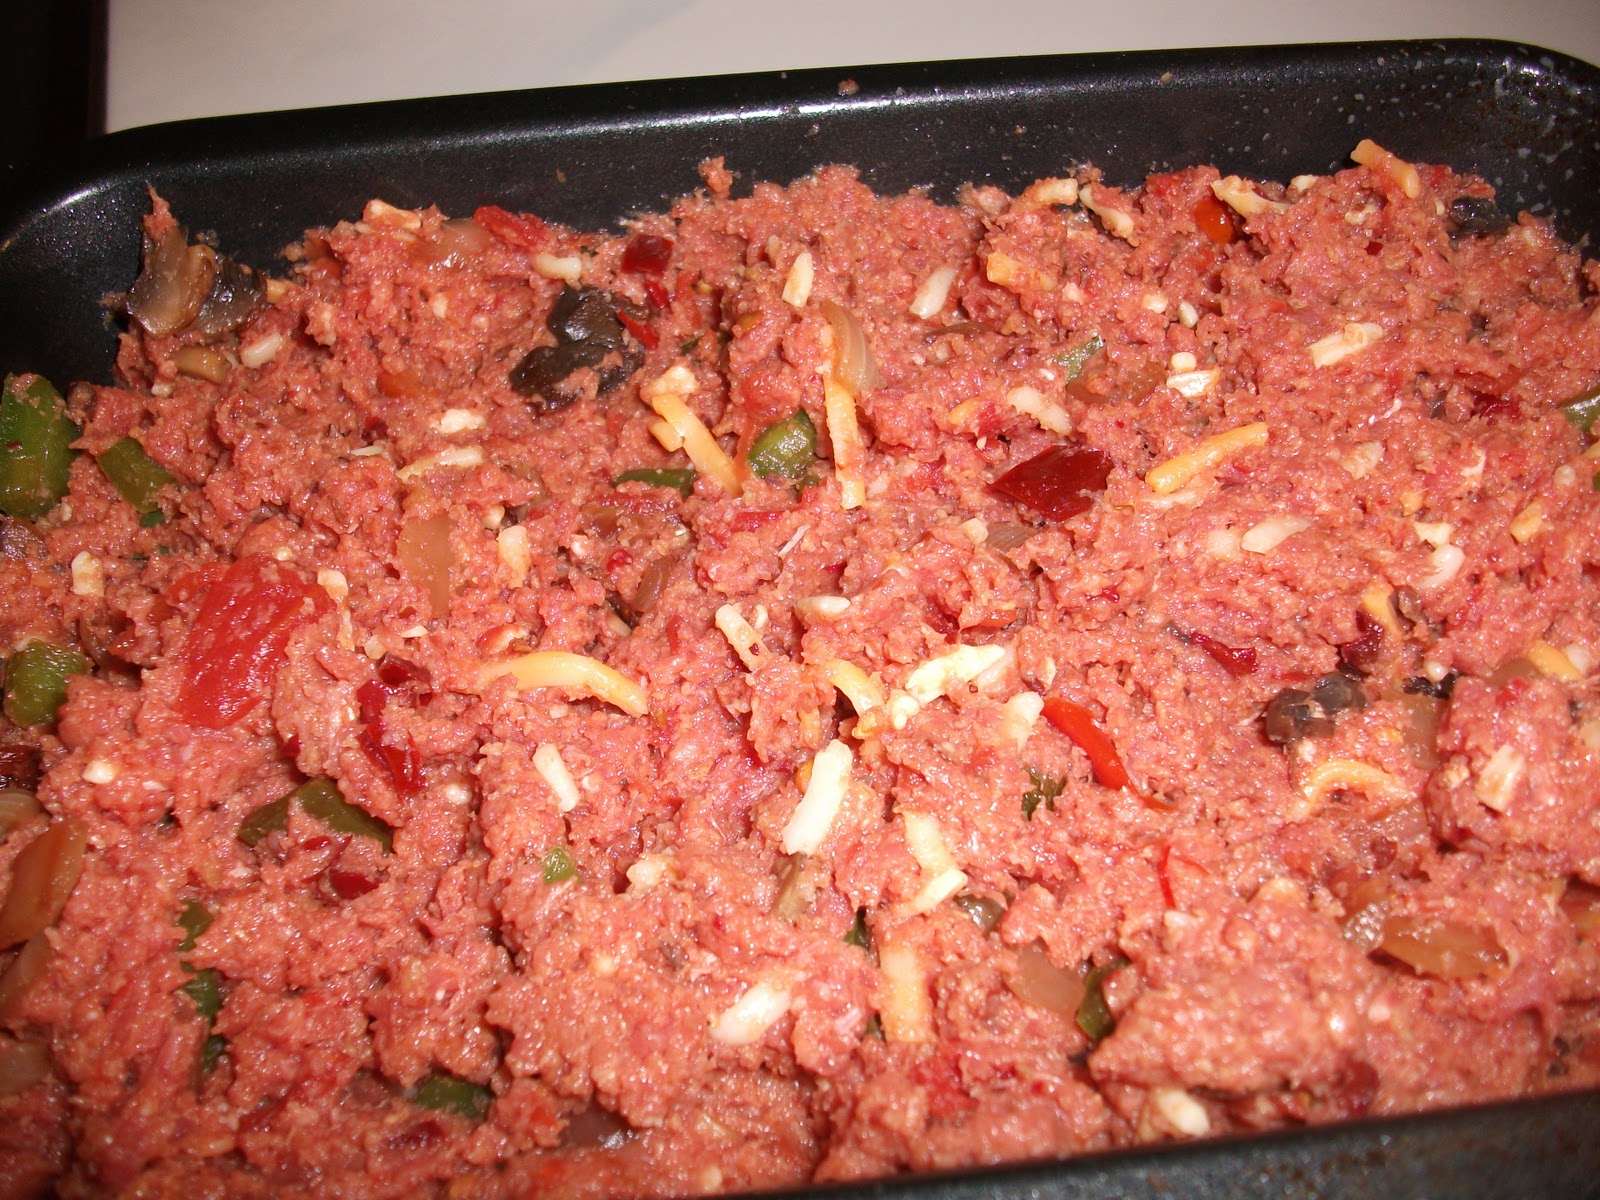
Crack an egg into the mixture, to help bind everything together. At this stage, add the cooked veggies too. Also, pretend there is a photo of me doing that. K thanks.


Mix everything together. Just be careful not to over work the meat. Using two forks is a good way to ensure that everything gets evenly mixed in, and keeps the meat nice and light.


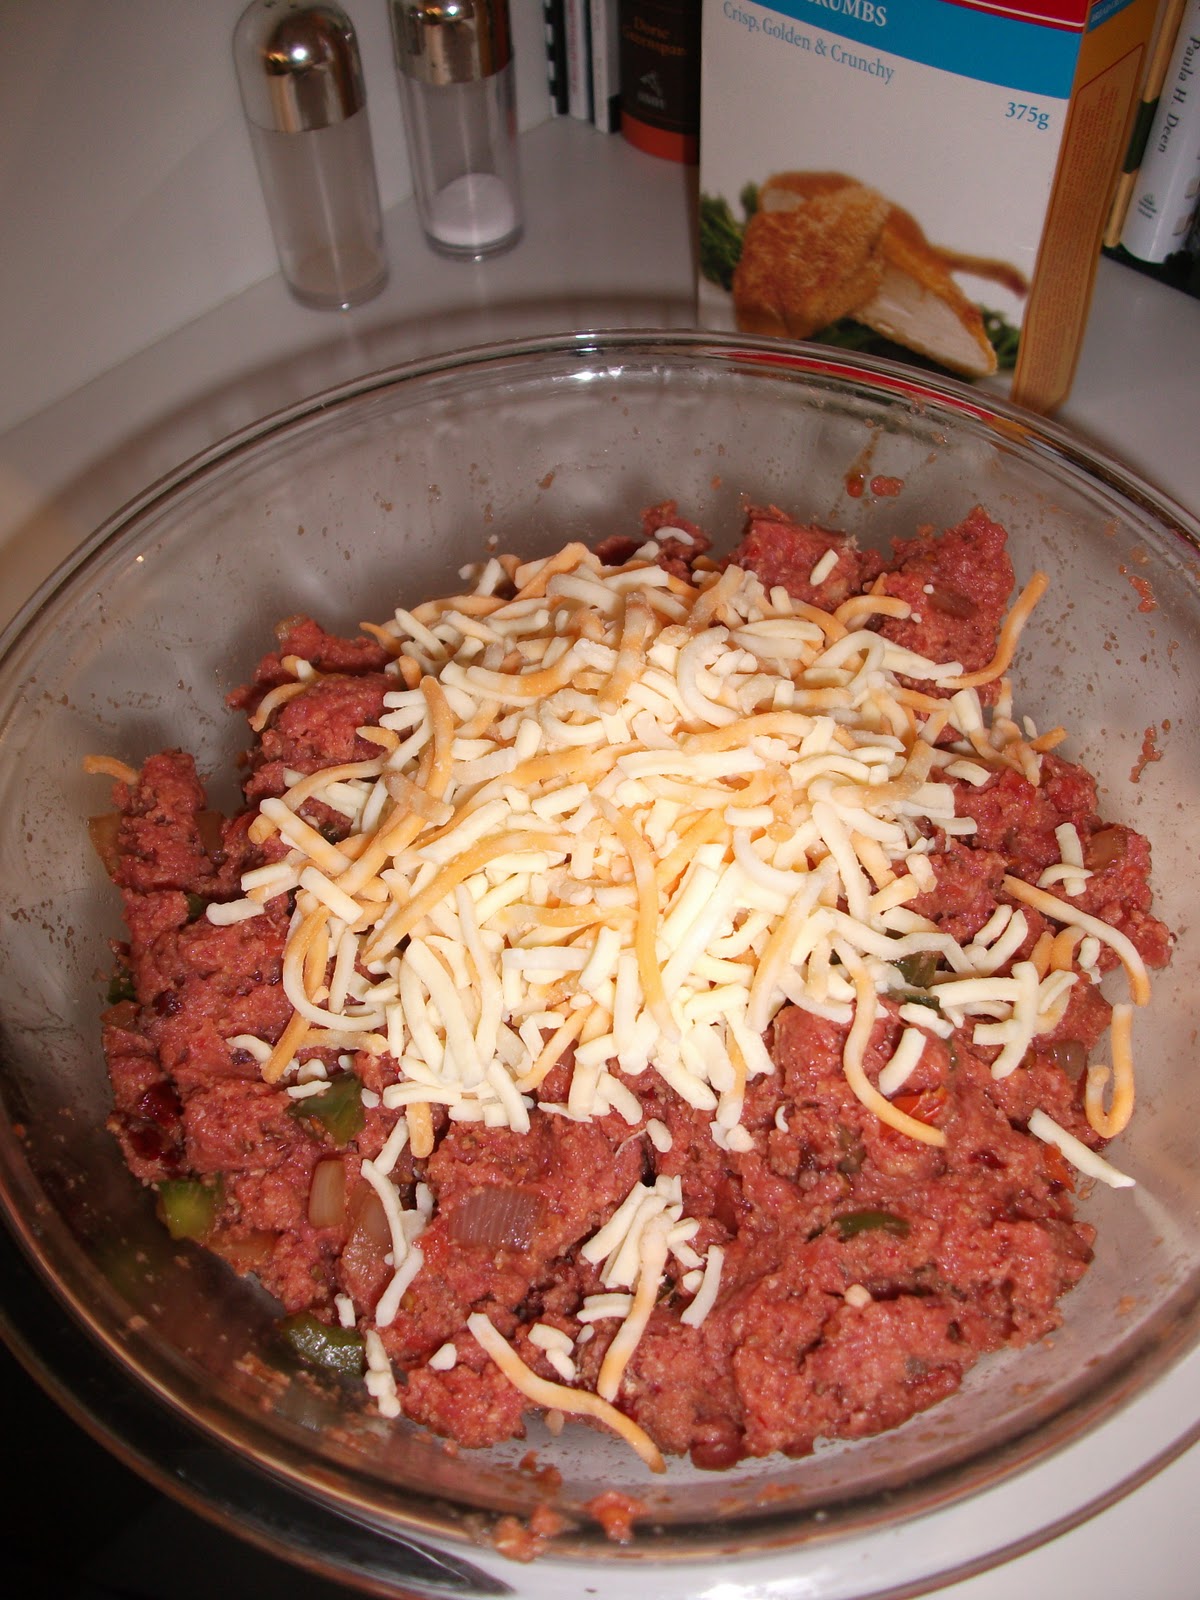
Then, if you'd like, add a nice handful of a Mexican blend cheese mix. This will add to the goodness of the meatloaf, I swear by it!


Form everything into a nice loaf shape.


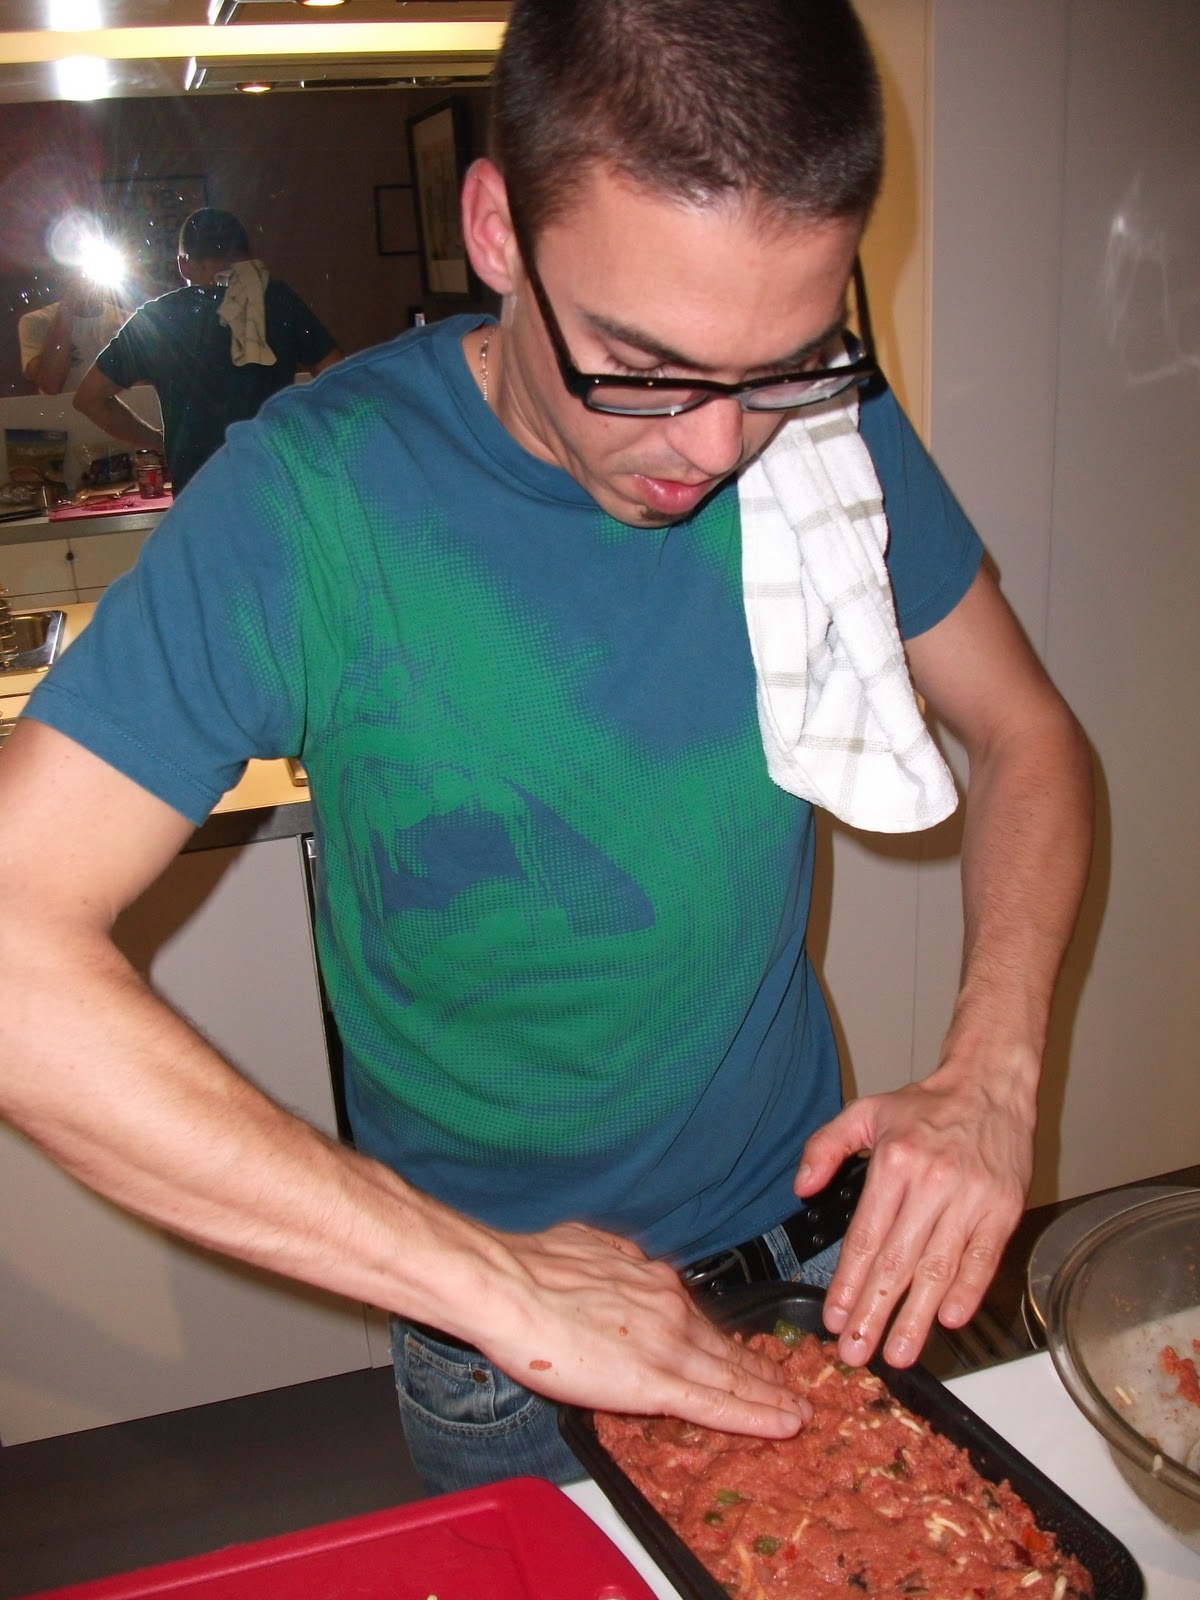
And cram it all into a nice greased non-stick loaf pan.


This looks soooooo amazing. Get excited about dinner at this point.


Now for the topping. Grab the mustard, the remaining Adobo, the ketchup and the tomato paste. You'll want about a tablespoon each of the mustard and brown sugar. Add all the leftover Adobo, a squirt of tomato paste, and a dash of the ketchup.


Mix it all together into this delicious looking sauce topping.


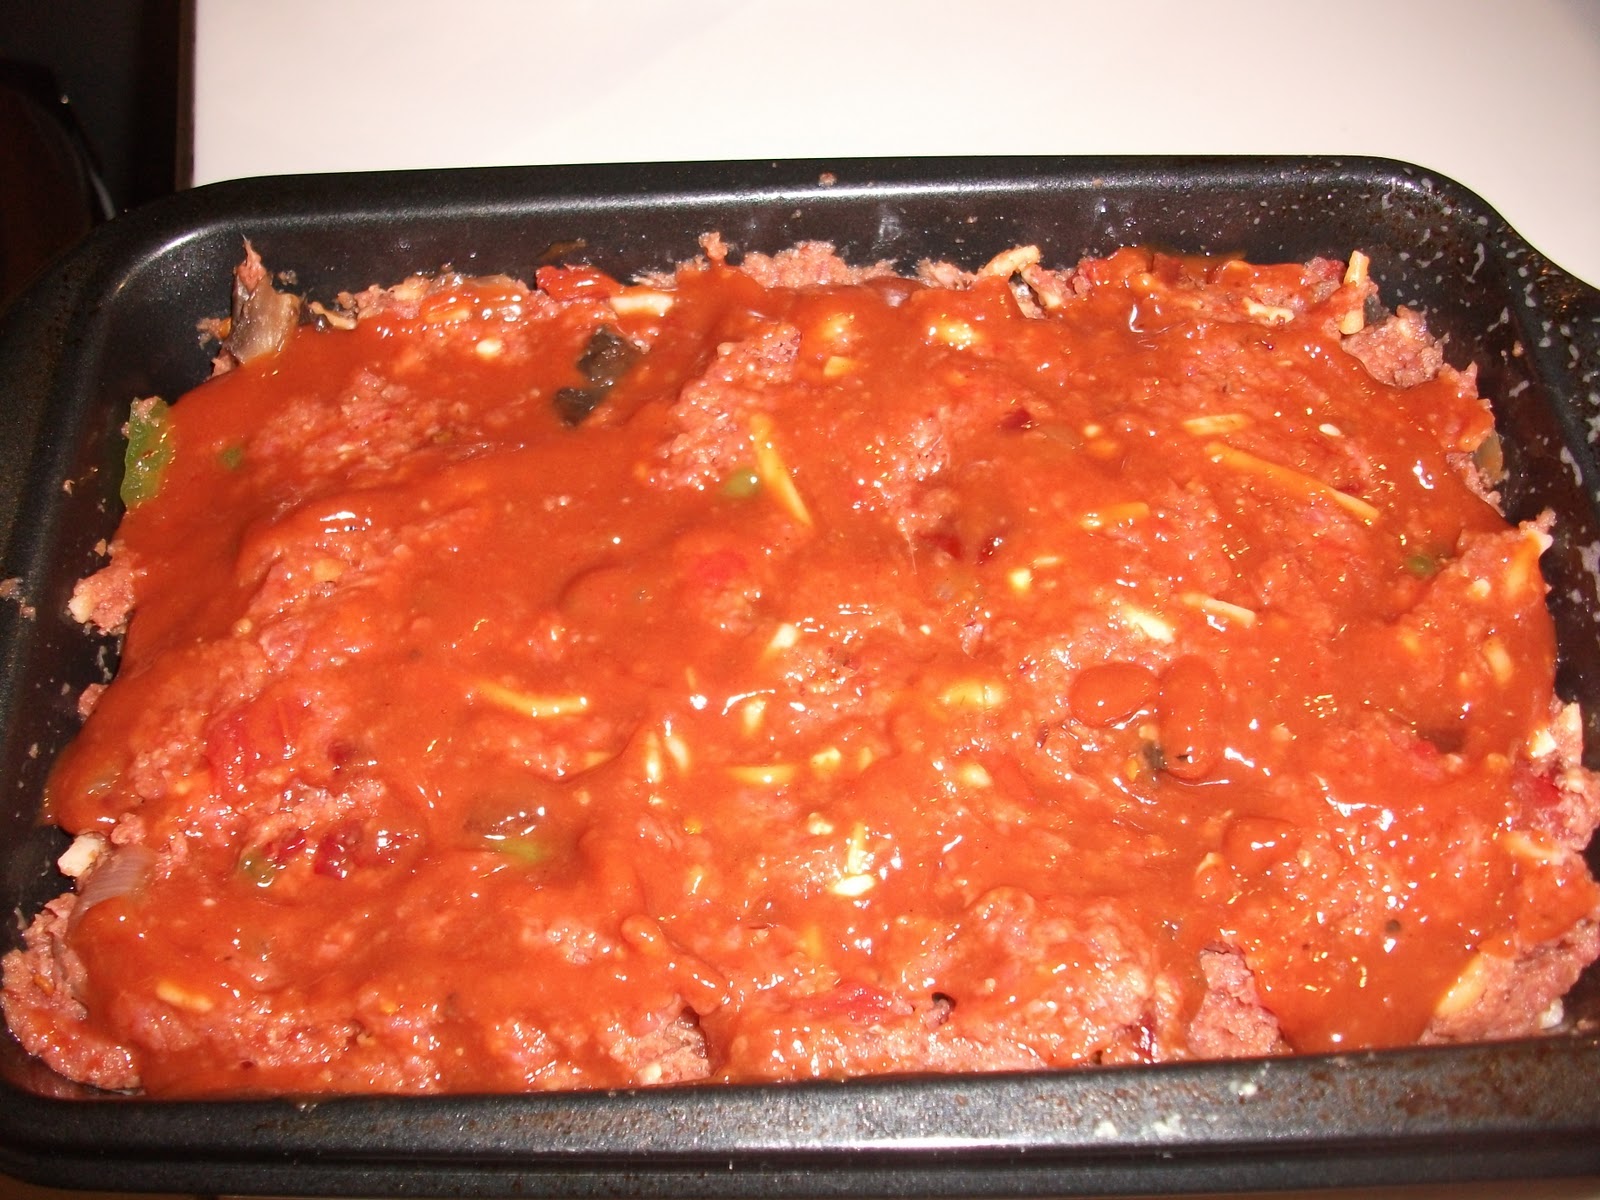
Naturally you will want to spread it over the meatloaf.


Bake it at 190° C (that's about 375° F) for about an hour, until it is nice and bubbly and beautiful looking. Commence drooling now.


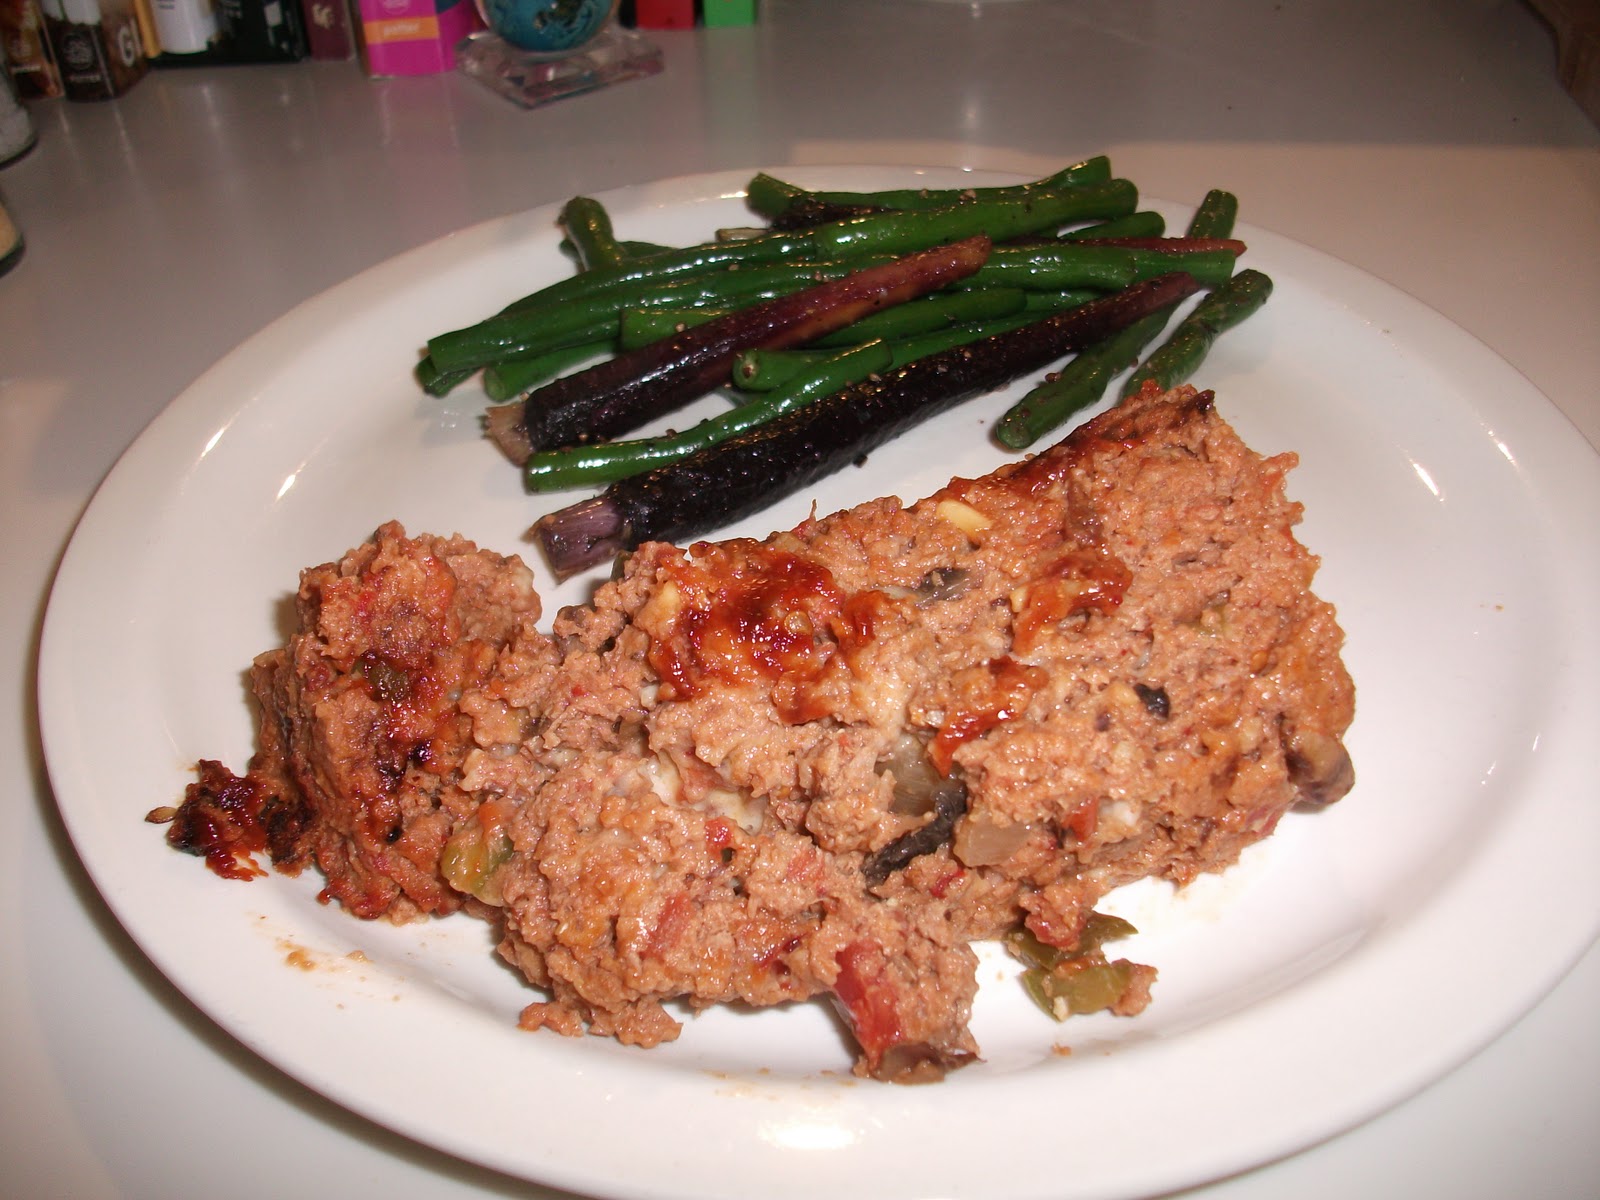
Plate it up with some nice steamed veggies (hooray for purple carrots!), and dig in to your fabulous meatpile! Errr.. meatloaf!

xoxo
Craig

Wednesday 30 November 2011

Mushrooms that make you drunk?

A while back, you may remember that JP was off Stateside on some business. It sucked for me, but totally worked out for a lot of my friends. And their bellies. Case in point, my Drunken Mushrooms. I sprung these babies on my friend Clubarella when he came over one night to laugh about our adventures over the weekend.

Now, I was so busy cooking these and chatting and drinking wine that I totally forgot about taking photos of me making them. But this is ok. This dish is as simple to make as popping open a bottle of wine. I swear. And anyways, it's the end result that you want. Just look at all that yumminess!


So glossy and juicy looking! And the wine you cook them in reduces to this amazing gravy-esque sauce that you will pour over everything on the plate. At least Clubarella and I did once I finished with these photos.


So I guess you are wondering how to make the wonderful little morsels, right? Let me tell you, you are going to be so surprised. So you start with a large sauce pan, over medium-high heat. Then, you take about 2 or 3 tablespoons of olive oil and about 2 tablespoons of unsalted butter and pop them in and let them come up to heat. Take a very small yellow onion and dice it up, and toss it into the pan and let it start to cook. Add in 2 large cloves of diced garlic, and mix it all around and cook until the onions turn translucent. 

Now for the main ingredient: the mushroom. I used Swiss Brown mushrooms, but you can use button mushrooms too. Or a mixture. It's really whatever. So, grab about a pound of mushrooms and toss them into the pan with the onions and garlic. Mix them around to get them all nice and coated. Helpful hint, make sure they are nice and clean first, no one likes mushroom dirt in their teeth during dinner.

So into the pan, you are going to pour 3/4 of a bottle of red wine (a nice Shiraz is a good choice here) and a liter of chicken stock (or veggie stock if you like). Then, into that, add about a tablespoon of dried oregano, a dash of dried rosemary and some salt and pepper. Then, let the whole thing simmer for about 2 hours.

Yes, two hours. Keep some extra liquid on hand (Wine, stock, water. It's all cool) in case the liquid gets too thick, you can just splash some more in there.

I know this dish takes a while, but it is totally worth it. You can have it as a side, or if you really want, have it as a main over some pasta or rice. That would be so delicious!

Hmmm... I might make pasta tonight...

xoxo
Craig

Tuesday 22 November 2011

I thought Halloween was last month...

So normally for breakfast, I have a small bowl of muesli with some greek yoghurt and fresh berries of sorts. I love this brekkie so much; it is so simple and yummy. And I am pretty sure that it is healthy too.

Well, today... this morning I felt like eggs. Just some good old-fashioned eggs over easy. Nothing complicated, just tasty eggs...

It was too early for this though:


I mean seriously. What kind of freak chicken produced that weird two-yolk egg?

Tasted fine, though. 

xoxo
Craig

Tuesday 15 November 2011

Chocolate. Sometimes it is just purely a necessity.

So you know how sometimes you just have those crap days? I mean, nothing really goes wrong, but then again, nothing goes right, either. Today was one of those days for me. I must have hurt myself at work at least half a dozen times by banging my knee on my desk. Then, I think I gave myself 4,782 papercuts. Then, when I finally, finally made it home, after missing my bus [twice], I realized that JP and I hadn't cleaned up since he returned from the States last week. 

I needed a run. In a very bad way. So what did I do? I decided to make chocolate bars. More importantly, I decided to make Nigella Lawson's Chocolate Crunchy Nut Sweet 'n' Salty Bars. Or whatever the heck she calls them. I saw them on TV, don't blame me on the name. Either way, it was the pick-me-up that I seriously needed this afternoon. Evening. See? I can't even tell time after the day I've had.


So, on to the bars. These things are ridiculously simple. You need about 900 grams of chocolate. I mixed 450g of dark with 450g of milk, cause that's what Nigella did on the TV. And I was past trying to branch out on my own. I just needed the chocolate. In my belly.


Break up the chocolate bars, and dump em in a sauce pan over the lowest of low heat settings. Burned chocolate is gross. Trust me, I know from experience. Ew.


So, to the slowly melting chocolate, add a hunk of butter. Unsalted, if you can. And by hunk, I mean about 3 tablespoons. I know it sounds like a lot, but lets be real here. You aren't going to make and eat these all the time. I mean, I'm sure that you could, but really, let's hope you have some sort of self control, right?


Back to the choc bars. To the very slowly melting chocolate and butter, add some golden syrup. Again, by some, I mean about 3 tablespoons.


Useful trick for not burning the chocolate while not using a double boiler? Just keep stirring. And stirring. Then stir some more. Oh, and the lowest setting of heat on your stove known to human kind. That helps heaps.


Once the chocolate is just melted, turn the heat off. That step is very important. Trust me, I know. Burned chocolate is gross. 


Now for the fun bits. All that chocolate that you just melted can be a bit boring if you just make a bar out of the melted chocolate bars. You need to add stuff! I opted for following Nigella's direction, and went with Kit Kats and salted peanuts. 3 Kit Kats, to be precise. This recipe is all about the 3's, can you tell?


Dump in the chopped Kit Kats, then add a very generous handful (or 2) of the salted peanuts.


Stir everything together. Side note, here. You really want to try this with the salted peanuts. Something about the salty and the sweet together is just awesome. Trust me. Unless you have a peanut allergy. Then you probably should not try that.


Dump the mixture into a disposable pan.


And spread it out. Then, into the fridge it goes to set.


You will want to let it sit in the fridge for at least 2 hours. Then, pull it out, and chop it up into whatever size bar you deem perfect.


Look at that goodness! Pile them high onto a plate, but be sure to keep them in the fridge. They may have a rather low melting point....


Want to know one of the best parts about making these after a crummy day? And I'm not talking about the fact that it only takes about 30 or so minutes to pull this off. The best part is 'cleaning' up after yourself. Nothing like a spatula full of melted chocolate to make you forget that you had a rough day. Or that you are supposed to be going for a run.

xoxo
Craig

Friday 28 October 2011

Subtle Differences

Hello my little darlings! As you may remember from an earlier post, JP has been overseas for the last few weeks. As a result, I have been forced to expand my 'cooking for one' methods.

Can I tell you a secret?

Its just a small one..

I'm not very good at cooking for one. I make too much food.

So, the end result is I have been trying to drag my friends over for dinners, so that I can still enjoy cooking, but not have to eat by myself. Tonight was one such night. I begged and begged, but finally my friend Poof agreed to come for dinner.


That's Poof, in the black, on one of our many nights out in Sydney. He personally took it upon himself to show us around after we first got here. It was very nice of him, given the fact that he had no idea who these random Americans were that just came up and started talking to him at a bar one night...

So anyways, you may remember the Quiche that I made in this post. I have explained how I love to mix up the ingredients and try to make different flavors. Well, for dinner with Poof, I decided to go Mexican style.

This was great in theory; sauté some mushrooms, add chopped spinach, and dice up some pickled jalapeños and black olives. Change out the mozzarella for pepper jack, and we were in business!

So let me tell you another secret.

I don't read labels. Apparently.

So, it would seem, it turns out, that there is a sweet and a savory selection for frozen pie crusts. Can you guess which one doesn't work with 'Mexican Quiche' all that well?

Yeah.

The sweet one.

Oops. Sorry Poof. I will do better next time, I swear.

xoxo
Craig

Tuesday 18 October 2011

Something smells a bit fishy...

Hello my darlings! So, this weekend, I did something totally crazy. Granted, that crazy thing was number one on my "Things to do while I live in Australia" list. But still. It was crazy. And it was epic. And I want to do it again.


So, to start the trip, I dragged my dear friend C all the way out to Port Lincoln in South Australia. It's tiny, in case you were wondering, and pretty far away from Sydney. But, it also happens to be one of the best places to do such crazy antics like what I talked C into doing with me.


So, here's a hint.


Need another one?


Getting warmer...


Well, actually, getting very much colder... That water was like ice!


AHHH! Yes, that is correct my darlings! We went diving with Great White Sharks!! And let me tell you, this was easily one of the coolest things I have ever ever ever done in my life!


These things are HUGE, like on a whole other level! But, they are also amazing creatures. And, shockingly graceful. And, they are some hungry buggers, let me tell you. At least we had that in common, right?


And of course, a very special thank you to C, for being game enough to join me on my whirlwind Shark Diving Adventurama. Total gem, this one. 

xoxo
Craig

Tuesday 11 October 2011

Table for One

So, over the years I have become fairly adept at making wonderful meals for two. Believe it or not, the more people you have to cook for, the easier the meals are to make. Measurements and all that jazz. Making dinner for two, while not particularly difficult, does require a bit more finesse, so as not to end up with heaps of leftover random bits of meal. 

Now cooking for one. Usually, this is such a pain in the butt that most of us don't even bother. I mean, it's just so much simpler to run out and grab something with friends, right? 

Right. 

Well, right now, JP is overseas for work. Boo, hiss. Come back now, JP. I am not a fan of this plan.

So, to entertain myself, and to also not get on the nerves of my friends begging for them to go to endless dinners until JP's return, I have decided to take on cooking. For one. 


And here is my favorite creation so far! Now, keep in mind that this is easily expandable for more people. That is the joy of cooking for one. Just expand if cooking for more.

Ok, so here we go. Simple, super fast, and minimal ingredients. Asian inspired salmon and greens. You need some ground ginger, and some ground garlic. Soy sauce, and some pepper. A plastic bag, and of course the greens and the salmon. I chose to go with bok choy, keeping with my Asian theme.


And this is where it gets simple: 1/2 cup of soy sauce.


Grab the plastic bag, put the salmon in it, pour over the soy sauce and add some fresh ground black pepper.


Then add this much ground ginger.


And this much garlic powder.


Shake it all up in the bag


And place it skin side up and let it sit for at least 5 or 10 minutes to marinate.


So, while the fish is marinating, grab yourself some bok choy.


Lop off the bottoms.


Then add this much olive oil to a pan.


Meanwhile, grab a baking pan and line it with tin foil. This makes for easy clean up, and that makes for a happy For One. Make sure to spray some non-stick on it... no one like stuck salmon.


Plop in the salmon skin side down, and put it into a 180º C oven. Or 375º for those of you who don't know what I'm talking about.


While the salmon is baking away, pile the bok choy into that pan I was talking about up there... you know, the one with the olive oil in it. Yeah, that one! Put it over medium heat. Best part: you are almost done!


As the bok choy starts to wilt, add in just a splash (or two, if you feel like it) of soy sauce. No other flavors needed!


Now the cool part. About the time the bok choy is starting to look wilted and tasty, take it off the heat, and cover with some tin foil. Trust me this makes sense. It allows the bok choy to steam a bit, and not sauté  but also allows the soy sauce to thicken enough to stick to it. Great plan, I know!


Only allow the fish to cook for about 10 minutes. Otherwise it gets a bit tough and not so tasty in my opinion.


Look how awesome that looks. It is such a great, healthy, and quick meal. It took less than 20 minutes start to finish.


And even less time to devour it. And, just trust me on this one, your plate will look just like this when you finish this meal.

Enjoy, my pets!

xoxo
Craig